
Showing posts with label PSA Essentials. Show all posts
Showing posts with label PSA Essentials. Show all posts
Saturday, August 13, 2011
Wednesday, August 10, 2011
PSA Essentials Blog Hop Day 3
Okay so today is another fabulous week of blog hopping over at The Queens Royal Court. There is a fabulous prize and lots of goodies to look at so please hop with us wont cha?!?!?!?!
If you just jumped here from Liz's blog then you are in the right place. If you just happened upon my blog you probably want to start at the beginning over at Theresa's blog.
Well here is my project. Not much to say about this one other than I really wanted to make a scrapbook page ;) Super easy plain and quick but that's the way I like my scrapbook pages. :)


Here's a list of What was used:
Ecraft- Hop Scotch from Let's Play cut file
Ink- Black from PSA Essentials
Embellishments- Glitter and white gel pen
Stamps- PSA Essentials Funky Numbers
Tools- Paper trimmer
Paper- All of the paper is from my stash
Adhesive- Dimensionals and ATG
Here is a list of the hop participants in case you get lost along the way!!!!
Theresa
Cristi
Gaby
Jenny
Jin
Kassidy
Liz
Raven
Libby ~ PSA Stamps
Tuesday, August 9, 2011
Thursday, April 7, 2011
PSA Essentials
Hey y'all! Two posts in one day. Oops lol Okay so I wanted to share a little PSA Essentials project that I made for today.

I also tried a little somethin somethin new with my camera! Just playing around.
Here's a list of What was used:
Ink- Basic Black (Stampin Up), Walnut Stain (Tim Holtz)
Embellishments- twine (hobby lobby)
Stamps- Smirk™ Kiss Me Now Stamp Die Design Set
Tools- fancy label punch (stampin up) corner rounder punch (stampin up)
Paper- All of the paper is from my stash so I dont know exactly the brand.
Adhesive- ATG
Color medium- I used a white gel pen to color those cute little dresses.
Please don't forget we have the The Queen's Royal Court hop going on all week. You can find the original post Here
The Queen's talented designer's have one
The Queen's talented designer's have one
awesome week for you showcasing
PSA Essentials and we have an AMAZING...
Grand Prize pack for one lucky follower ...
valued at $125.00.
We have several chances for you to
be eligible to win...
1} Like PSA Facebook Page
{Post "The Queen's Royal Court Sent Me"}
2}Follow PSA Stamp Camp Blog
3}Go to Rossomer Square Site
Thank you so much for stopping by!!!!
Tuesday, April 5, 2011
PSA Essentials Day 3
Okay so...today is day 3 of showcasing the fabulous PSA Essentials! I love these stamps. Did you see what the fabulous DT did yesterday OMGoodness!
Okay so I had to step up my game because my dt sisters were leaving me in the dust. I decided to make a 3d item for today. Here is what you will need to make this with me...
This is a 2x2" square block that I bought in a 6 pack at Hobby Lobby (with coupon 2.30)

Mark with a pencil from corner to corner and where the two lines meet drill a hole about an inch deep. (Thanks Hubby)

Choose your choice of wire (found at Tuesday morning for pennies) Make sure you opt for the thicker wire.

Some acrylic paint, I also used Gesso but didn't put it in the pic for some reason? (Note: the more expensive acrylic you buy has more pigment in it which is better for a wood type of project. Otherwise all of the pigment just seeps in and you have to add like 5 coats; TIME CONSUMING!) I'm secretly talking about the Joanns brand in the back.

A little embarrassed to show you my hot glue gun yes but she's been good to me over the years and I love her. Plus you will need one so I took a picture to show you.
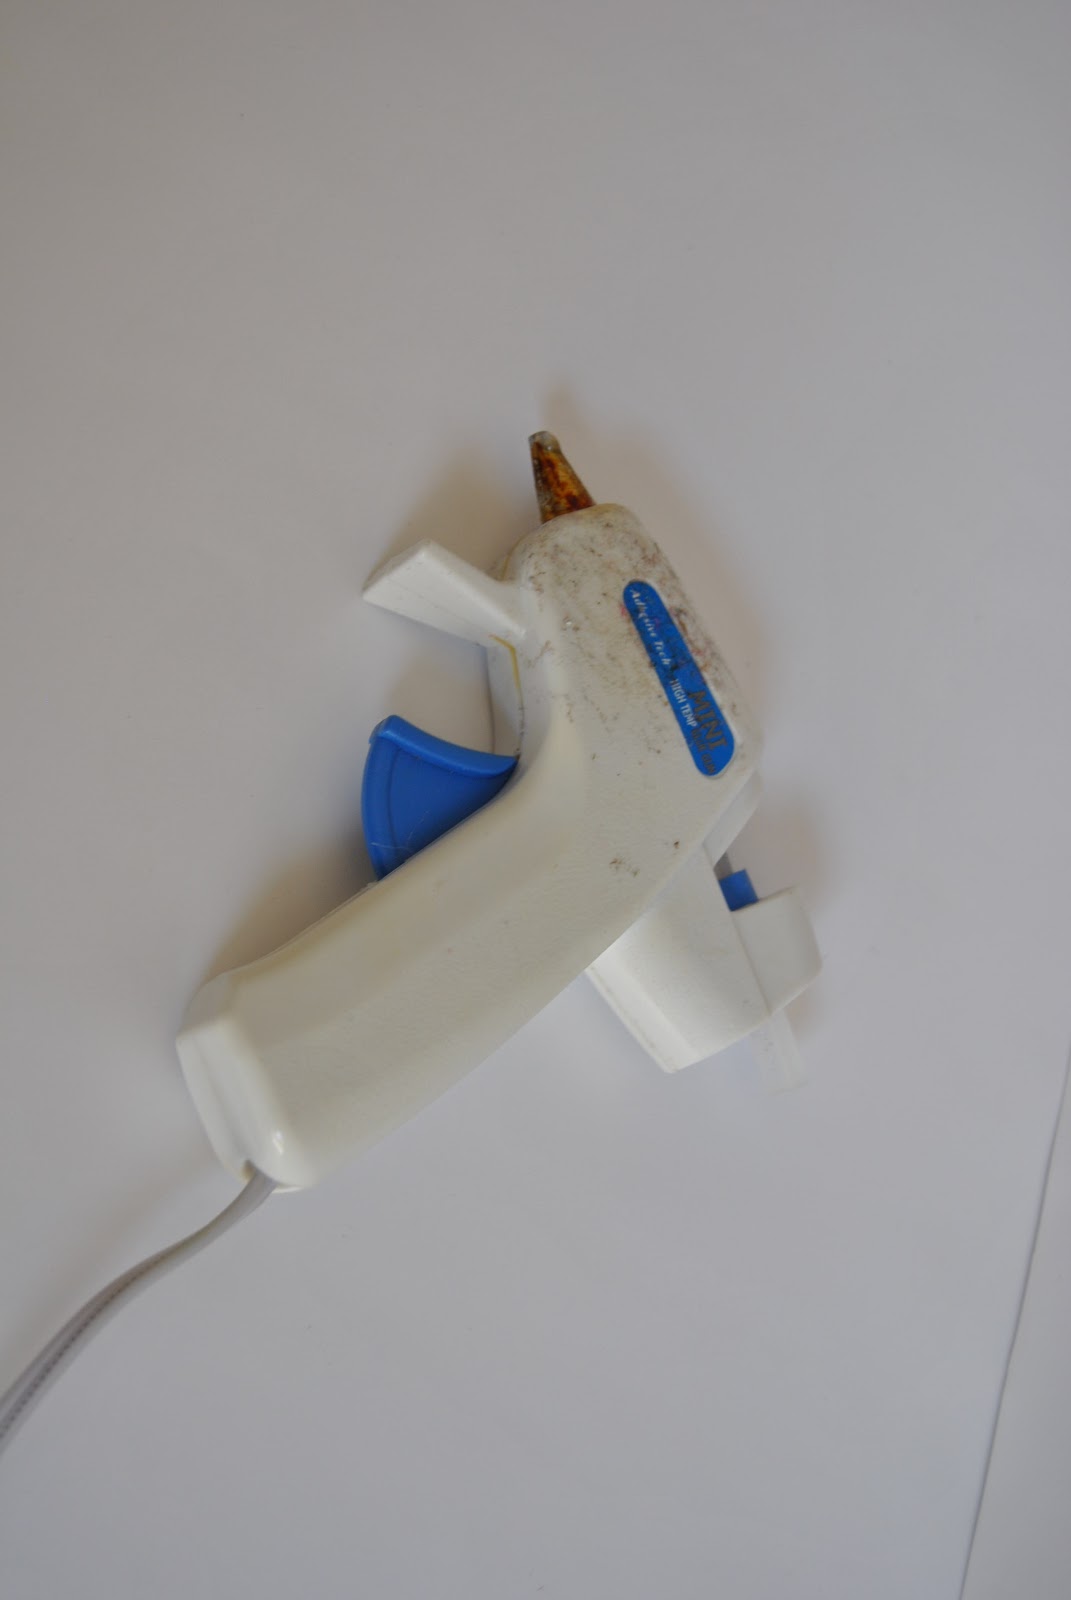
So This is what you are going to do take your wire and cut it to about 8". Remember about an inch of it will be inside the wood and the top portion will be curled. So take your paint brush or anything circular and curl the top portion of your wire. Once you have it looking the way you want it position them all together. I only used three strands of wire but you can add any amount that will fit into the hole on top. Then you will take your glue gun and just let the glue drip into the hole. You can also do this after you have painted your entire block. Totally up to you.
Next get your acrylics out and paint away. You can use any colors you'd like. I also added some Gesso to make the whole thing lighter. Then using Stazon ink I stamped the pretty little hello kitty. She is from PSA Essentials and can be found here.
This is what the finished project will look like...

Thank you all so much for stopping by. Please don't forget to head on over to the Royal Court Main Page and see what is going on this week. (Here is a little glimpse)
The Queen's talented designer's have one
awesome week for you showcasing
PSA Essentials and we have an AMAZING...
Grand Prize pack for one lucky follower ...
valued at $125.00 includes
3 peel and Stick Packs
2 Inks
1 alignment tool
and
and
1 CUSTOM Stamp
Plus
Rossomer Square ~ PSA Essentials Site
is offering a 30% off code until
April 22, 2011 just make sure you
use PSACRAFTERS at check out...
We have several chances for you to
be eligible to win...
1} Like PSA Facebook Page
{Post "The Queen's Royal Court Sent Me"}
2}Follow PSA Stamp Camp Blog
3}Go to Rossomer Square Site
comment back here and tell us what your favorite stamp set is....
Easy Peasy!
Monday, April 4, 2011
Birthday Week Celebration
Hey y'all! So excited to show you my project for today...why you ask? BECAUSE I LUB IT! Yeah I really do its just cute lol. Okay so Kassidy over at InkingItUpCrazy has asked me to be a guest on her blog this week to show you all some Birthday ideas!!!!
I LOVE this idea Kass. But she is so creative she is always coming up with new ideas to keep people inspired one of the many things I just love about her.
I was asked to make a Birthday Invitation. Well with 4 little ones running around here we make quit a few of these. I wanted to make something gender neutral so here it is...


I wanted to also show you this AWESOME personal stamp I recently received from PSA Essentials! If you get the time go over and like them on Facebook tell them The Queens Royal Court sent you!

Here's a list of What was used:Cricut- Slumber Party (See not only girls can celebrate with the Slumber Party cart)
Ink- Basic Black and real red from Stampin up
Stamps- The front and inside are from a Stampin Up set and the back (which is uber fabulous) is from PSA Essentials!!! LOVE Also, I used PK-680 Retro Paper Doll Face Assortment
Ink- Basic Black and real red from Stampin up
Stamps- The front and inside are from a Stampin Up set and the back (which is uber fabulous) is from PSA Essentials!!! LOVE Also, I used PK-680 Retro Paper Doll Face Assortment
Paper- All of the paper is stampin ups new in colors for this year and Kraft
Adhesive- atg and dimensionals
Color medium- white gel pen for the eyes and a red copic for the mouth
Adhesive- atg and dimensionals
Color medium- white gel pen for the eyes and a red copic for the mouth
Thank you all so much for stopping by! ;)
Sunday, April 3, 2011
PSA Essentials
Howdy yall. If you are looking for the Gotta Have Friends Blog Hop please click Here
AND...Welcome to
AND...Welcome to
If you have just left Liz's AMAZING Blog and found my blog you are in the right direction. If not you may want to start at the beginning here. And...after you leave me you will be visiting the uber talented Rosy.
The Queen's talented designer's have one
awesome week for you showcasing
PSA Essentials and we have an AMAZING...
Grand Prize pack for one lucky follower ...
valued at $125.00 includes
3 peel and Stick Packs
2 Inks
1 alignment tool
and
and
1 CUSTOM Stamp
Plus
Rossomer Square ~ PSA Essentials Site
is offering a 30% off code until
April 22, 2011 just make sure you
use PSACRAFTERS at check out...
We have several chances for you to
be eligible to win...
1} Like PSA Facebook Page
{Post "The Queen's Royal Court Sent Me"}
2}Follow PSA Stamp Camp Blog
3}Go to Rossomer Square Site
comment back here and tell us what your favorite stamp set is....
Easy Peasy!
And now the moment we've all been waiting for...(totally joking)
My project for today!

I am really lovin the versatility of these stamps. I actually used Smirk (Wedding set) to make a baby shower card. Its super simple but I really like it. ;)
Okay here is a...
list of what was used:
Ink- Kraft from Stampin Up! (inking the edges as well as the sentiment)
Embellishments- ribbon from stampin up
Stamps- Smirk™ Kiss Me Now Stamp Die Design Set (PSA Essentials)
Ink- Kraft from Stampin Up! (inking the edges as well as the sentiment)
Embellishments- ribbon from stampin up
Stamps- Smirk™ Kiss Me Now Stamp Die Design Set (PSA Essentials)
Tools- 2" punch and 1 3/4" punch (which btw works perfect with these stamps)
scissors to distress the edges of my paper
Paper- The base is stampin up the pattern paper is from a DCWV stack
Adhesive- atg
scissors to distress the edges of my paper
Paper- The base is stampin up the pattern paper is from a DCWV stack
Adhesive- atg
Also i wanted to post the winner of the Nikki Sivils paper pack chosen by Random.org (I entered comments from the entire week just fyi)...
CraftyComadres said...
Love the flower really cute
That's all she wrote. Thank you all so so much for stopping by. Your comments mean so much to me. Please don't forget to hop so that you have more chances at winning!
Now off you go to see Rosy!
Now off you go to see Rosy!
Subscribe to:
Posts (Atom)